When a vehicle is involved in a collision, the repair process can feel overwhelming, especially for first-time insurance claims, body work, or damage assessments. Understanding the typical steps helps reduce stress, improve communication, and ensure the vehicle is returned safely and efficiently. The outline below walks through the process from the initial inspection to final delivery.
Step 1: File the Insurance Claim
Before repairs begin, most drivers contact their insurance company to open a claim. Depending on the policy, an adjuster may be assigned or a preferred repair facility suggested. Drivers may choose any qualified shop.
Have ready:
Insurance policy number
Photos of the damage
Police report (if available)
Other driver’s information (if applicable)
Step 2: Schedule a Damage Assessment
The vehicle is inspected either at an insurer’s location or directly at the chosen repair facility.
During the estimate:
Technicians document visible and potential hidden damage
Computerized measuring systems may be used for precision
Photos and notes are taken for the claim file
The estimate is submitted to the insurer for review and approval
If the vehicle isn’t drivable, towing and rental coordination can typically be arranged.
Step 3: Insurance Approval
After the estimate is submitted, the insurer reviews the scope and costs. Timing depends on claim complexity and whether an adjuster needs an in-person inspection. Once approved, parts are ordered and repairs are scheduled.
Step 4: Disassembly & Supplemental Claims
Shops begin by disassembling damaged areas to uncover issues not visible during the initial estimate.
If additional damage is found:
The shop files a supplemental claim with updated documentation
Approvals are often faster with electronic submissions
Customers are updated as approvals come through
Step 5: Structural & Body Repairs
With approvals in place, structural work begins. Frame or unibody alignment is performed using precision measurement systems and manufacturer specifications. Panel repair or replacement follows, using procedures and materials designed to meet OEM standards. Some facilities are equipped for aluminum and carbon-fiber repairs.
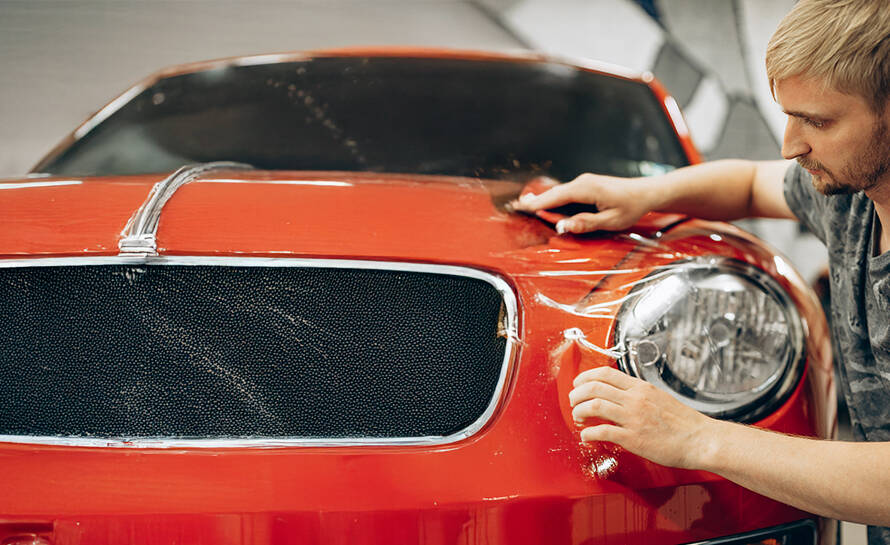
Step 6: Paint & Refinishing
After body repairs:
Surfaces are prepared and sanded
Primer and sealer are applied
Color is matched with advanced systems
Clear coat is applied for gloss and protection
Professional spray booths help deliver a clean, factory-like finish, whether treating a small section or refinishing full panels.
Step 7: Reassembly & Quality Checks
Reassembly includes lights, trim, glass, sensors, and related components. Multiple quality-control checks verify:
Proper fitment and panel alignment
Correct operation of electronics
Calibration of safety systems
Vehicles equipped with ADAS (Advanced Driver Assistance Systems) typically require recalibration to ensure proper operation.
Step 8: Final Inspection & Delivery
Before delivery, vehicles are often detailed inside and out. A final inspection confirms paint consistency, seam alignment, system functionality, and roadworthiness. Customers receive a repair summary and care guidance.
Tips for a Smooth Experience
Ask for OEM procedures: Confirm that estimates account for structural and safety items, not just cosmetic fixes.
Request documentation: Before/after photos and measurement reports help validate repair quality.
Clarify timelines: Parts availability and insurer approvals can affect dates—get an estimated schedule and updates.
Review warranty terms: Warranty coverage varies by facility; request details in writing.
Pristine Collision Center provides OEM-certified auto body and collision repair across Hollywood, West Hollywood, Montebello, and Westminster, CA. As an I-CAR Gold Class facility staffed by Platinum-certified technicians, the team delivers precise structural repairs, expert refinishing, and full-vehicle restoration. From the initial inspection to the final quality check, we’ll walk you through every step of the collision repair process.
Our Centers: